
Articles
From the First Expense to Our Final Family WanderSpend Photobook — How WanderSpend Helped Me Organize Our Canada Trip
How one family Canada road trip grew from bookings, places and daily expenses into a living WanderSpend timeline — and eventually a printed Photobook.
Our 2026 family summer holiday had been a long-held dream for my wife and me: a road trip through Western Canada, from the Rocky Mountains to Vancouver and Vancouver Island.
We began planning in January. We compared possible routes, read guidebooks and trip reports, watched flight prices, looked for accommodation and collected the places we definitely wanted to visit. At first, that was simply the enjoyable part of looking forward to the journey.
But a handful of saved places gradually became a small organization project. Flights, hotels, the rental car, ferry crossings, park access, activity bookings, documents and an increasingly detailed route were spread across browser tabs, emails, booking apps and notes on two phones.
I did not want an hour-by-hour itinerary. I wanted one place where we could see what was already fixed, what still needed a decision and what would matter on each day. That was when our Canada Road Trip began to take shape in WanderSpend. The rental car became the first recorded expense, and the rest of the trip grew around it step by step.
By the time we came home, that same trip had become a day-by-day family record: the Icefields Parkway in shifting weather, a short note from a quiet evening in Jasper, the places where we stopped, what we spent and the photos we chose together. WanderSpend had not simply tracked the trip. It had quietly helped us shape the story while we were still living it.
From a long-held idea to one shared route
The broad route soon became clear: start in Calgary, spend time around Banff and Lake Louise, follow the Icefields Parkway toward Jasper, then continue west to Vancouver and Vancouver Island.
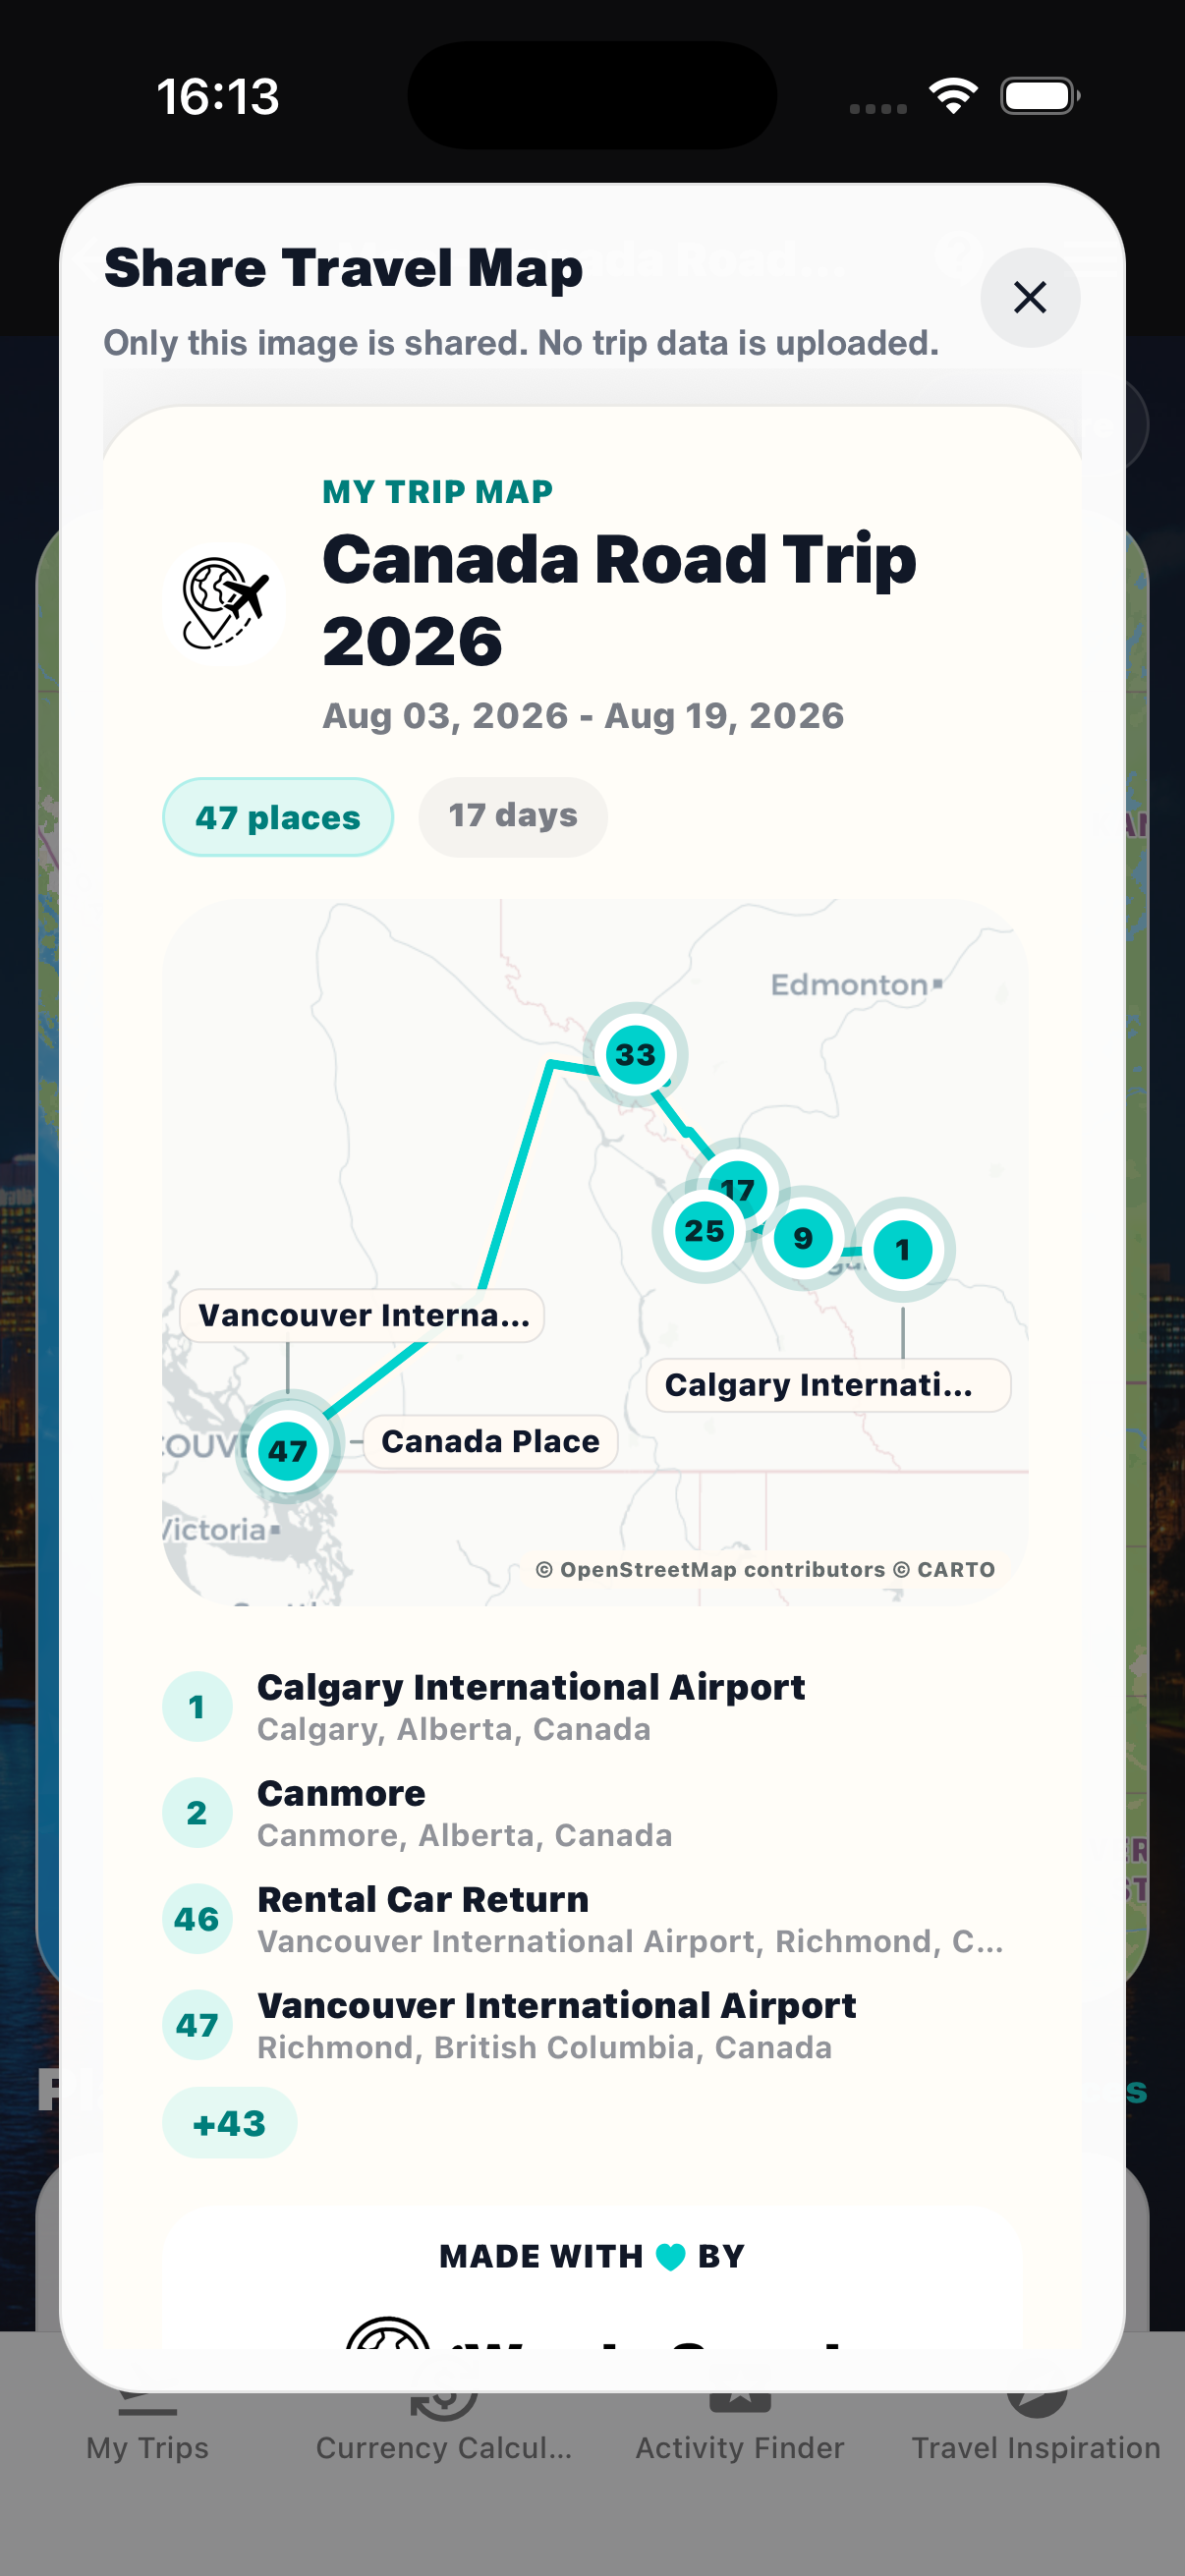
Once the first places were in WanderSpend, the Share Travel Map card made that outline feel like a real journey. It showed our route from Calgary through the Rockies to Vancouver and could be shared as an image without uploading the underlying trip data.
The Canada route at the beginning of our trip

The route was exciting. The practical layer was less romantic.
There were flights, accommodation confirmations, the rental car, national park information, shuttle arrangements, travel insurance and a growing list of places that might fit if weather and energy allowed. Some information lived in email, some in booking portals and some in notes on two different phones.
I created one trip in WanderSpend and treated it as the shared starting point. I added:
- the trip dates and Canadian dollars as the trip currency
- a planned budget as a range rather than a rigid target
- the family members needed for shared expenses
- our important route stops
- fixed bookings and appointments on the relevant days
- documents or links that we would need on the road
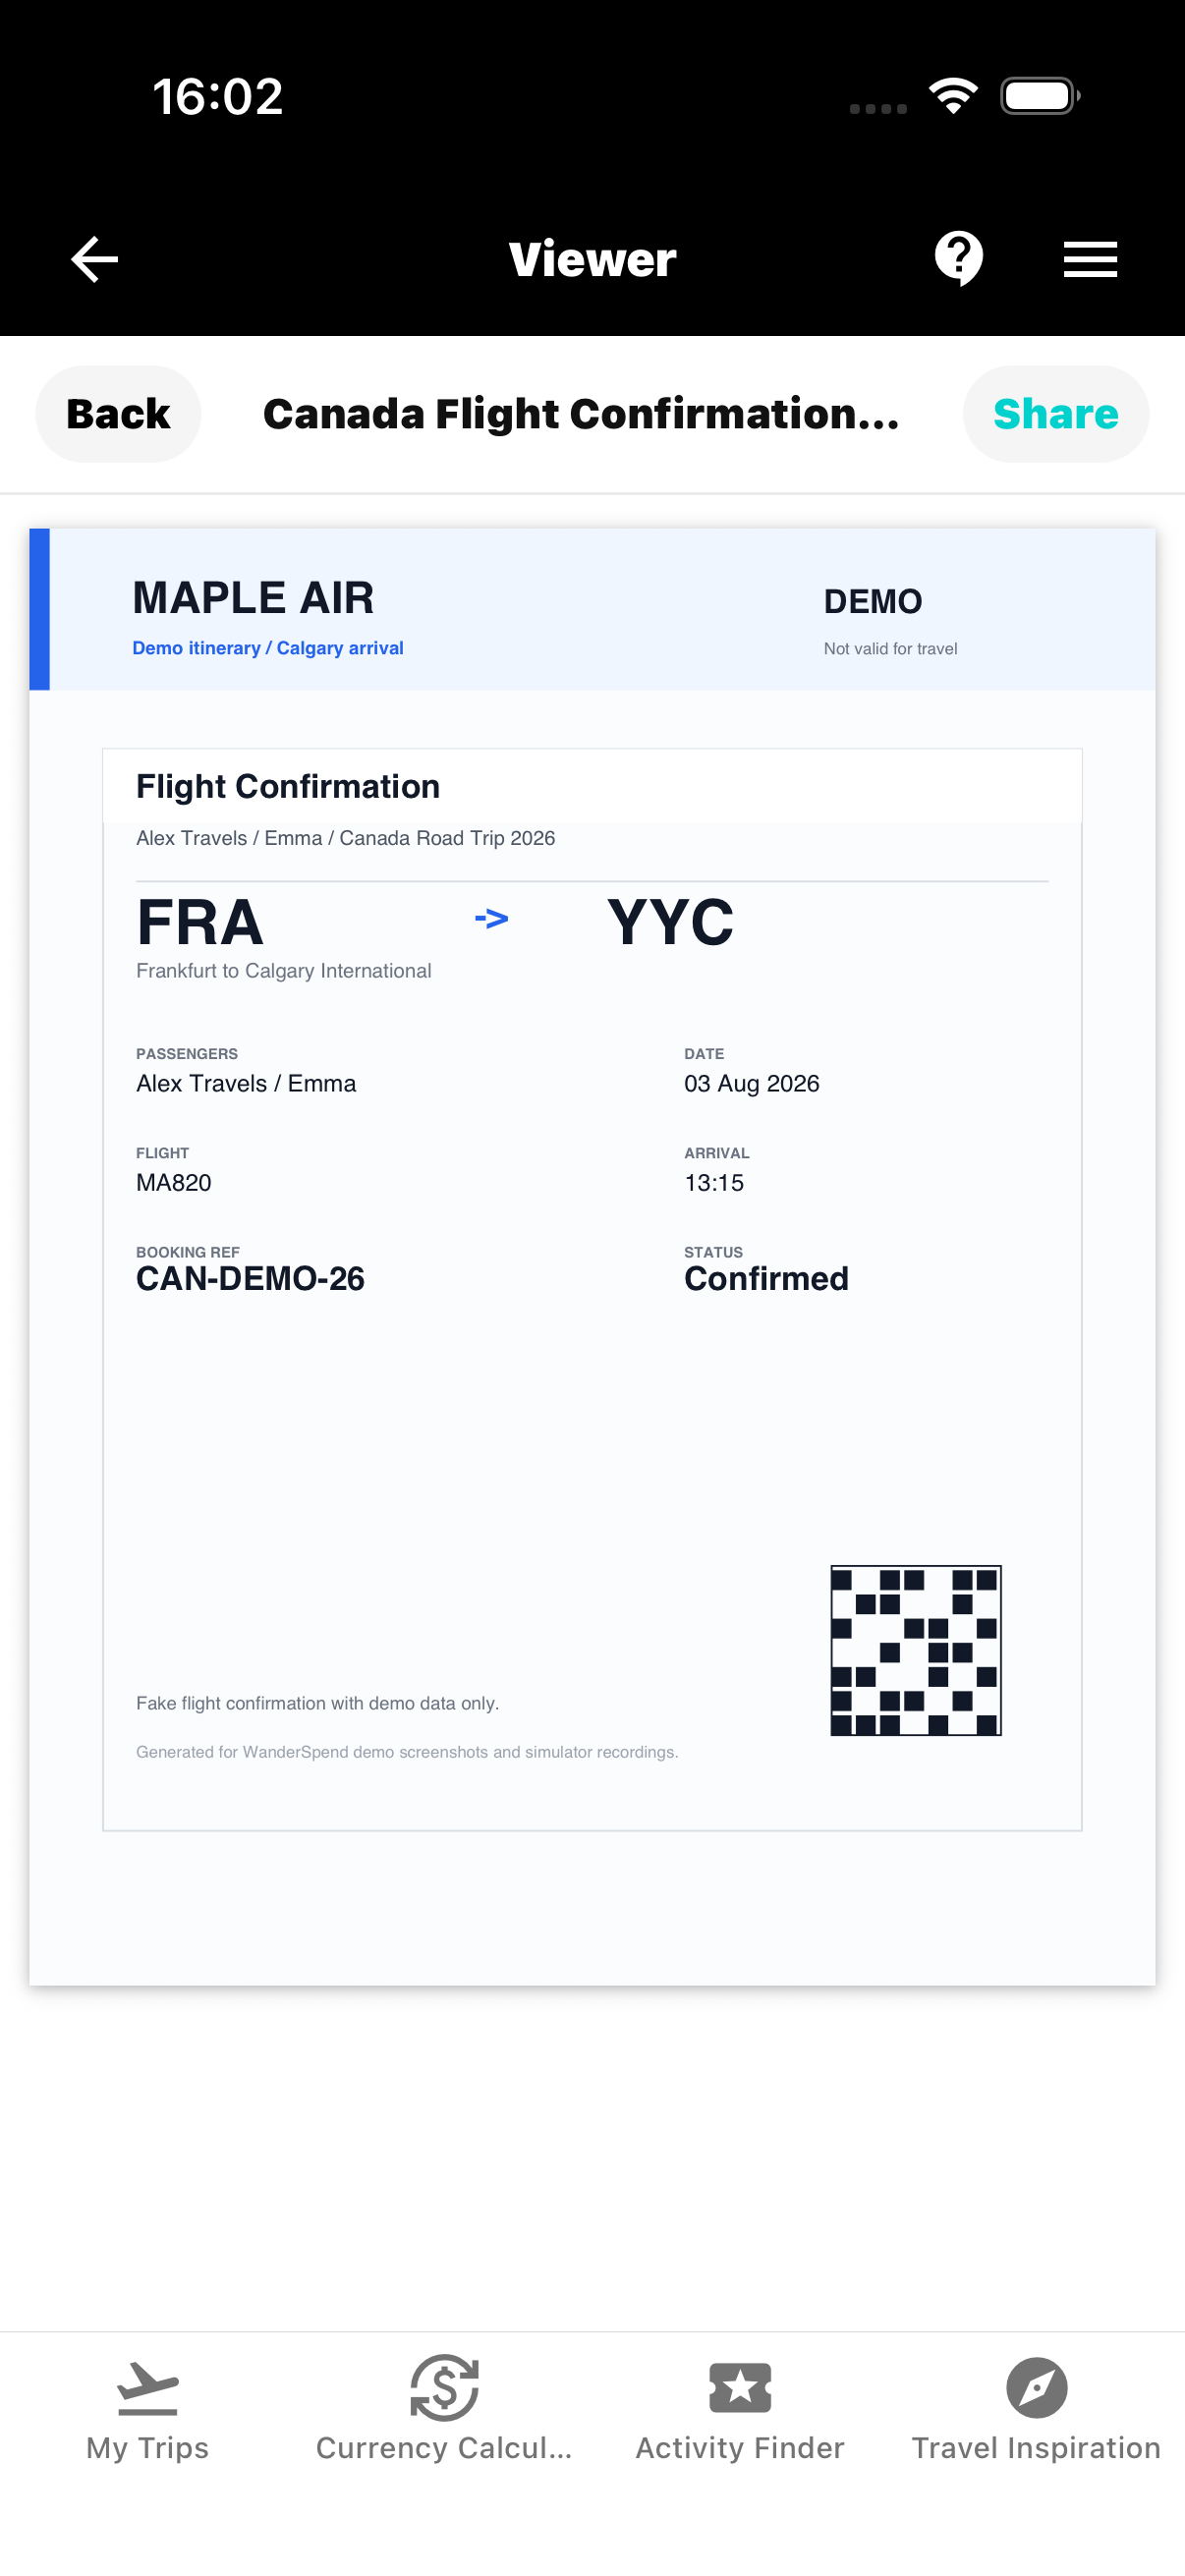
Quite a stack of documents had already accumulated before departure. I added our flight tickets, the airport parking documents, the ferry tickets to Vancouver Island and the admission vouchers for the activities we had booked. I also kept copies of everyone's ID and our entry documents with the trip.
Of course, we took printed copies of the essential documents as a backup. But having them in WanderSpend meant the right information was immediately at hand instead of buried in an inbox or a folder. Setting all of that up did take some work. Looking back, I was completely glad I had done it — even my wife was impressed by how unusually organized I was.
I treated accommodation differently. Most hotels and other stays were booked through large booking platforms whose apps were already on my phone, so I did not duplicate all of those details in WanderSpend. A short note or link was enough when the information was already reliably available elsewhere.
That distinction mattered. WanderSpend became the place that told us what mattered on this trip and when, rather than another archive full of everything.
The flight confirmation, ready when we needed it
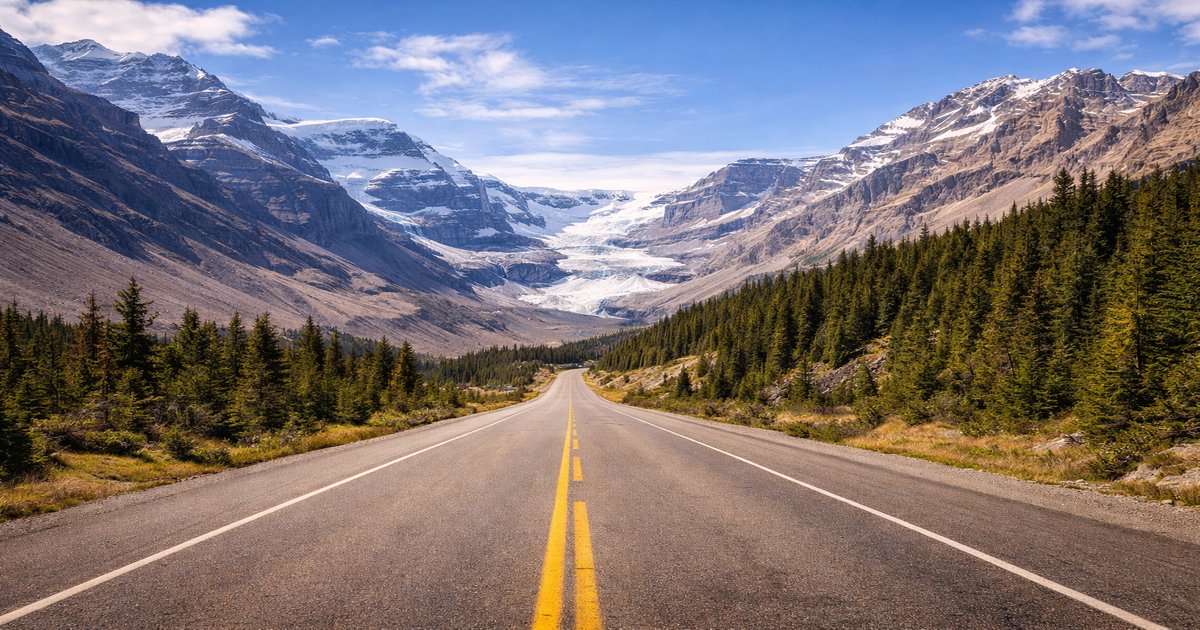
The route gave the trip its structure. The timeline later connected that route with the details of each actual day.
For the route itself, I used the West Canada Highlights collection to decide what deserved a fixed place and what could remain optional. The practical guides for Banff National Park and the Icefields Parkway were especially useful for avoiding the classic mistake of putting too much into one mountain day.
The budget began before the journey did
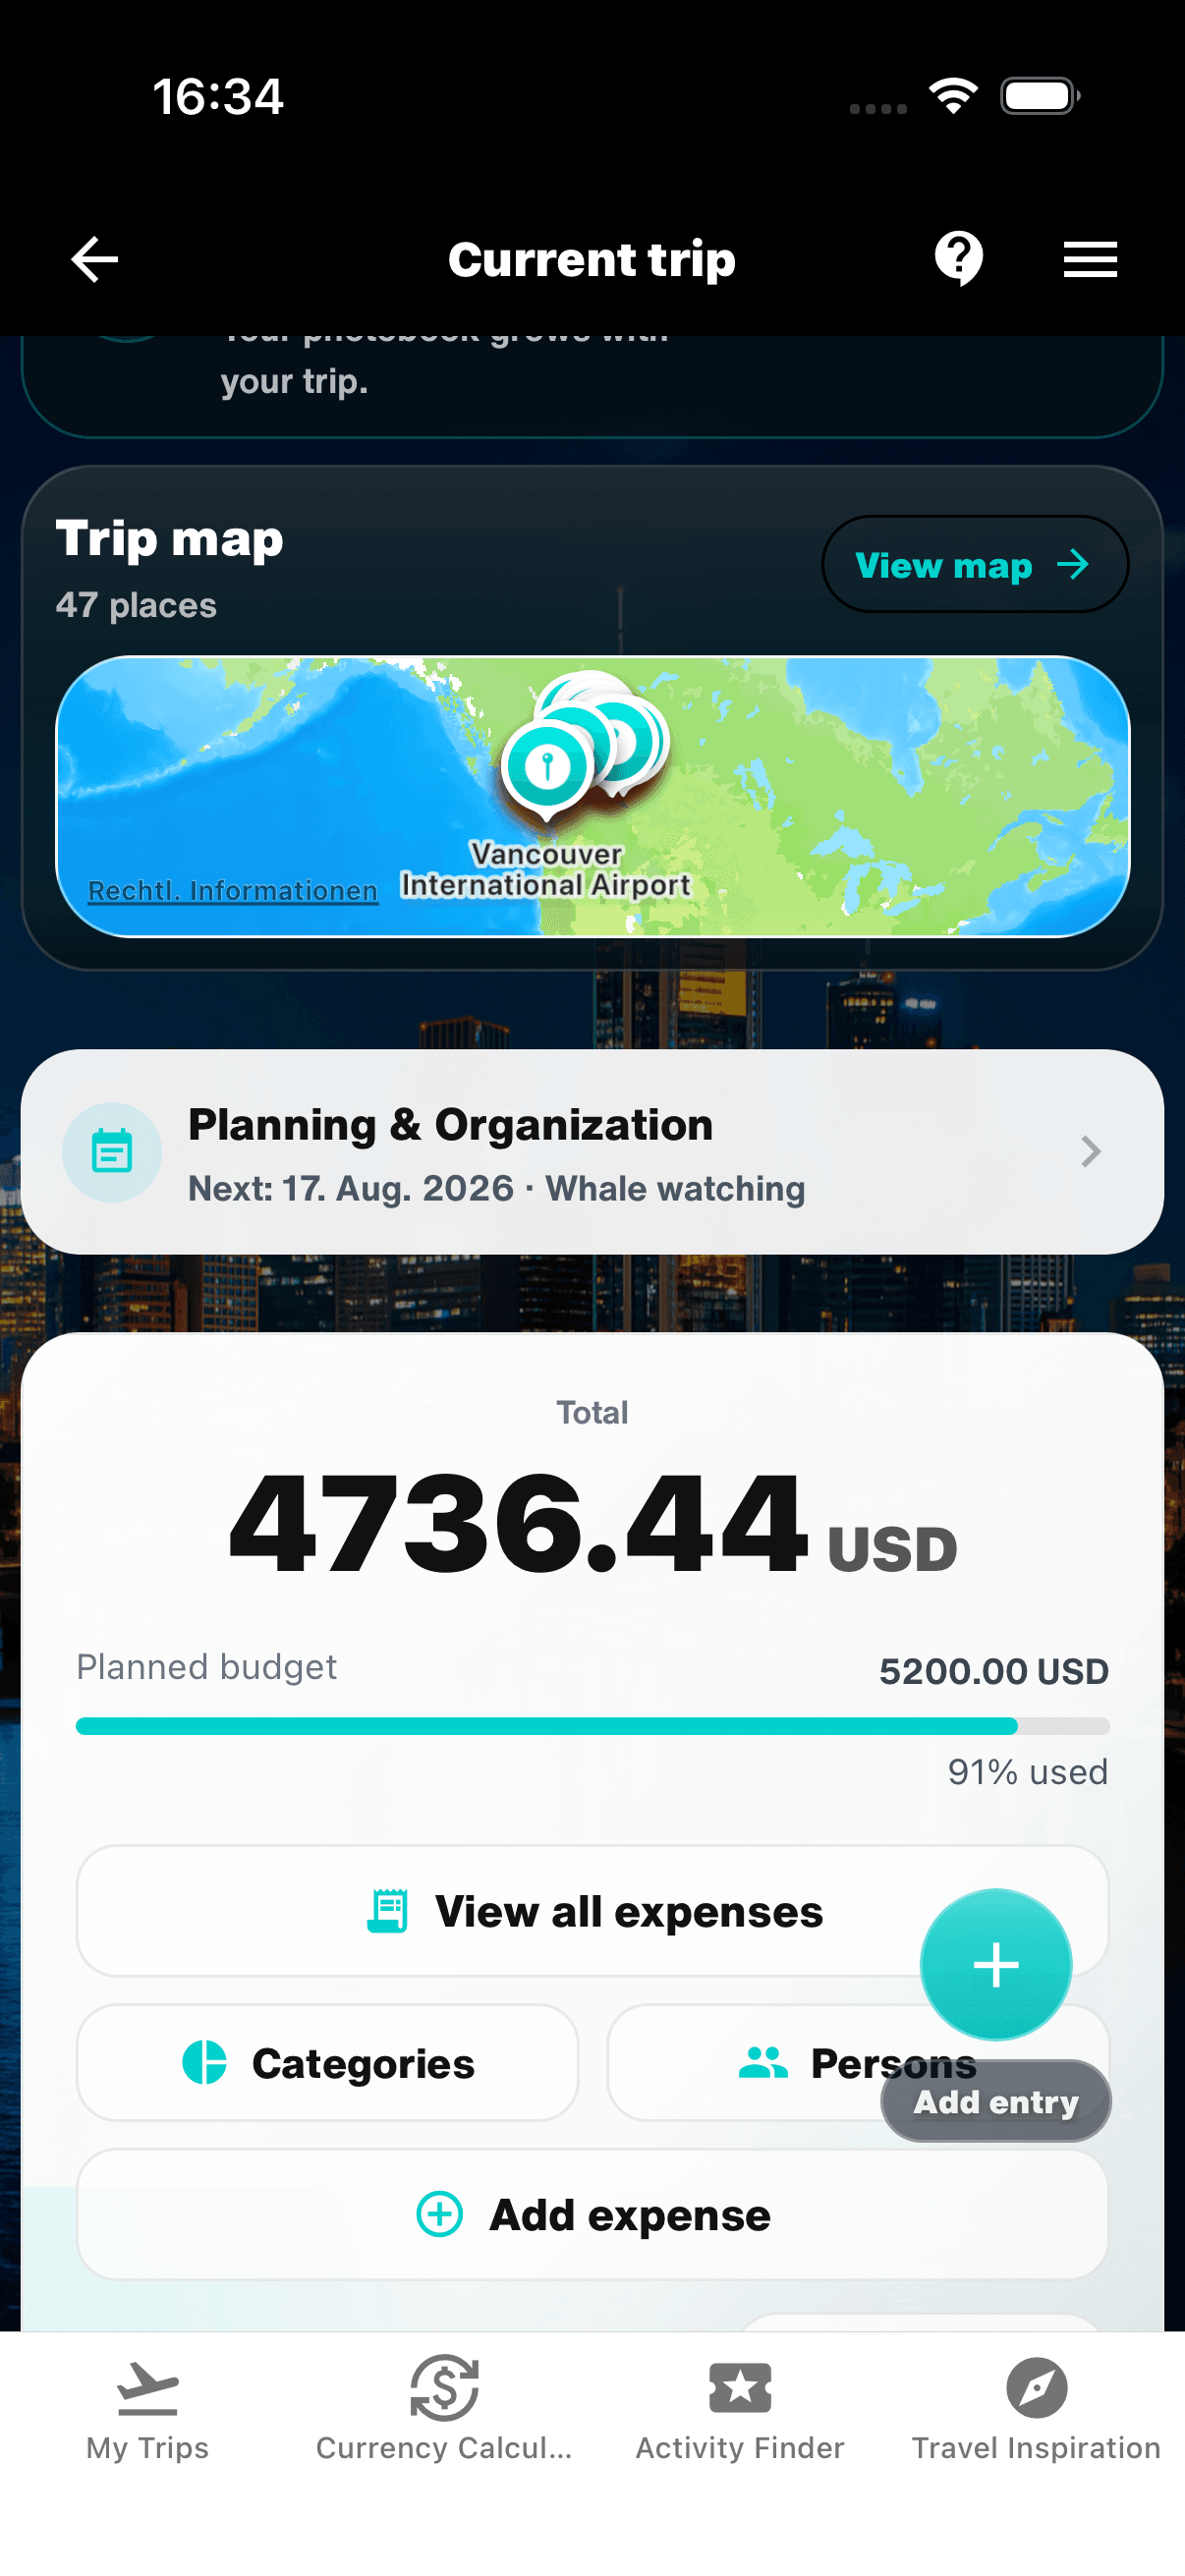
The rental car became the first expense. Flights, accommodation deposits and reserved activities followed before we had packed a bag.
Recording those costs early changed the role of the budget. It was no longer a number we would discover after the trip. It became a quiet planning check.
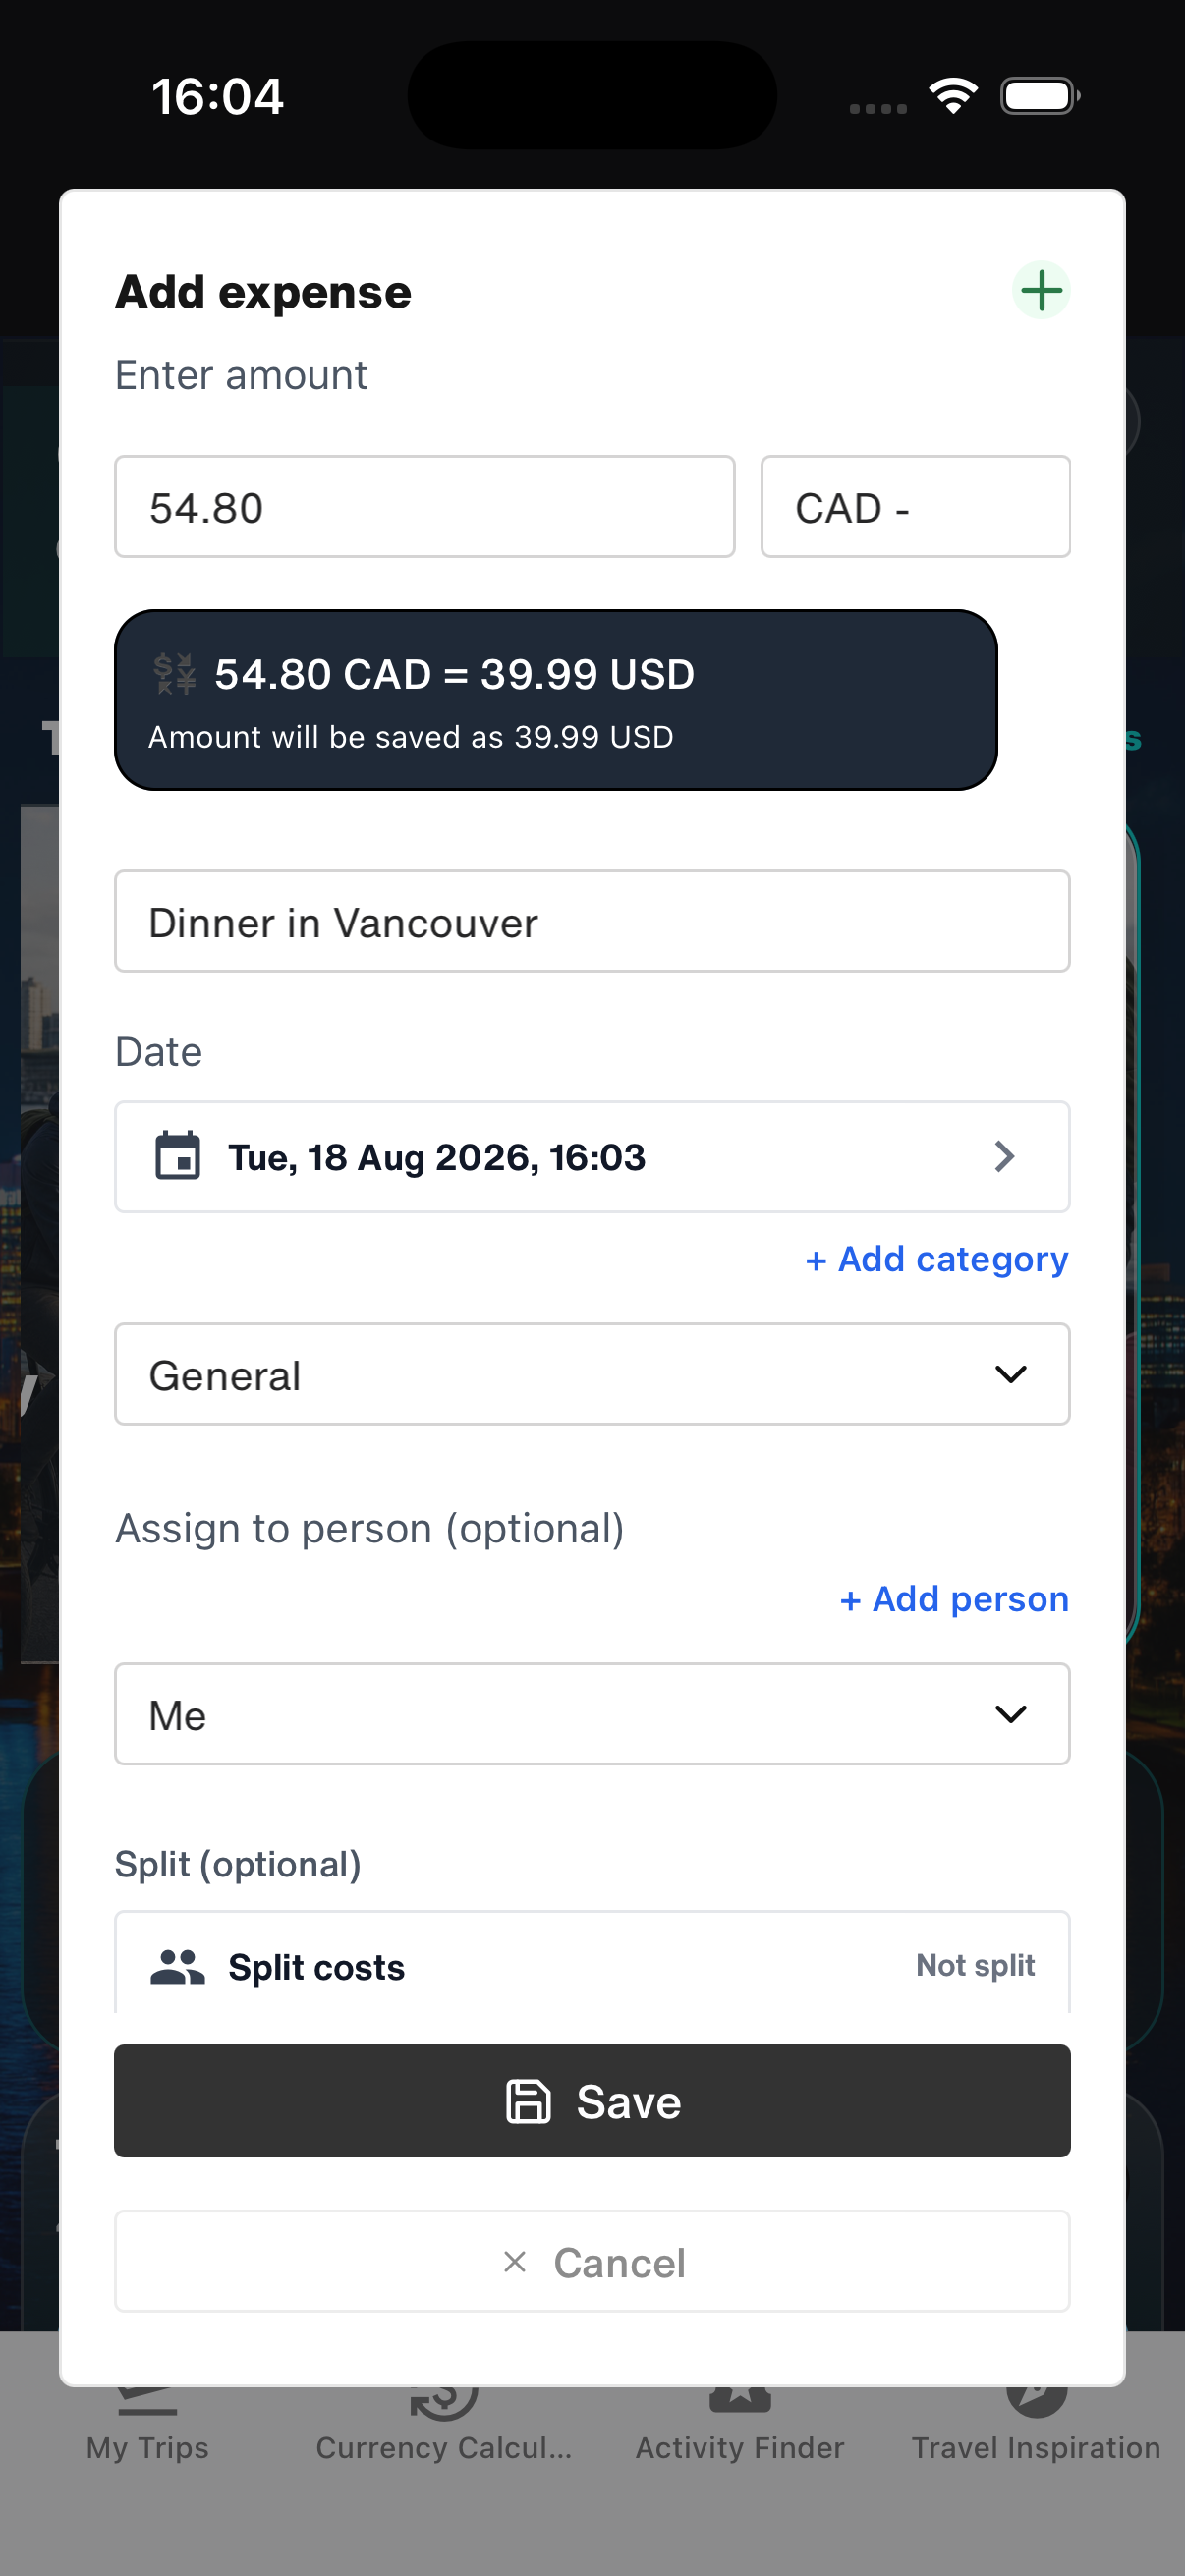
In WanderSpend, I could keep each expense in its original currency and still see the trip in our home currency. I used the standard categories for accommodation, transport, food and activities, then added a category where our own planning needed more detail. Shared purchases could be assigned to the right people or split equally or individually.
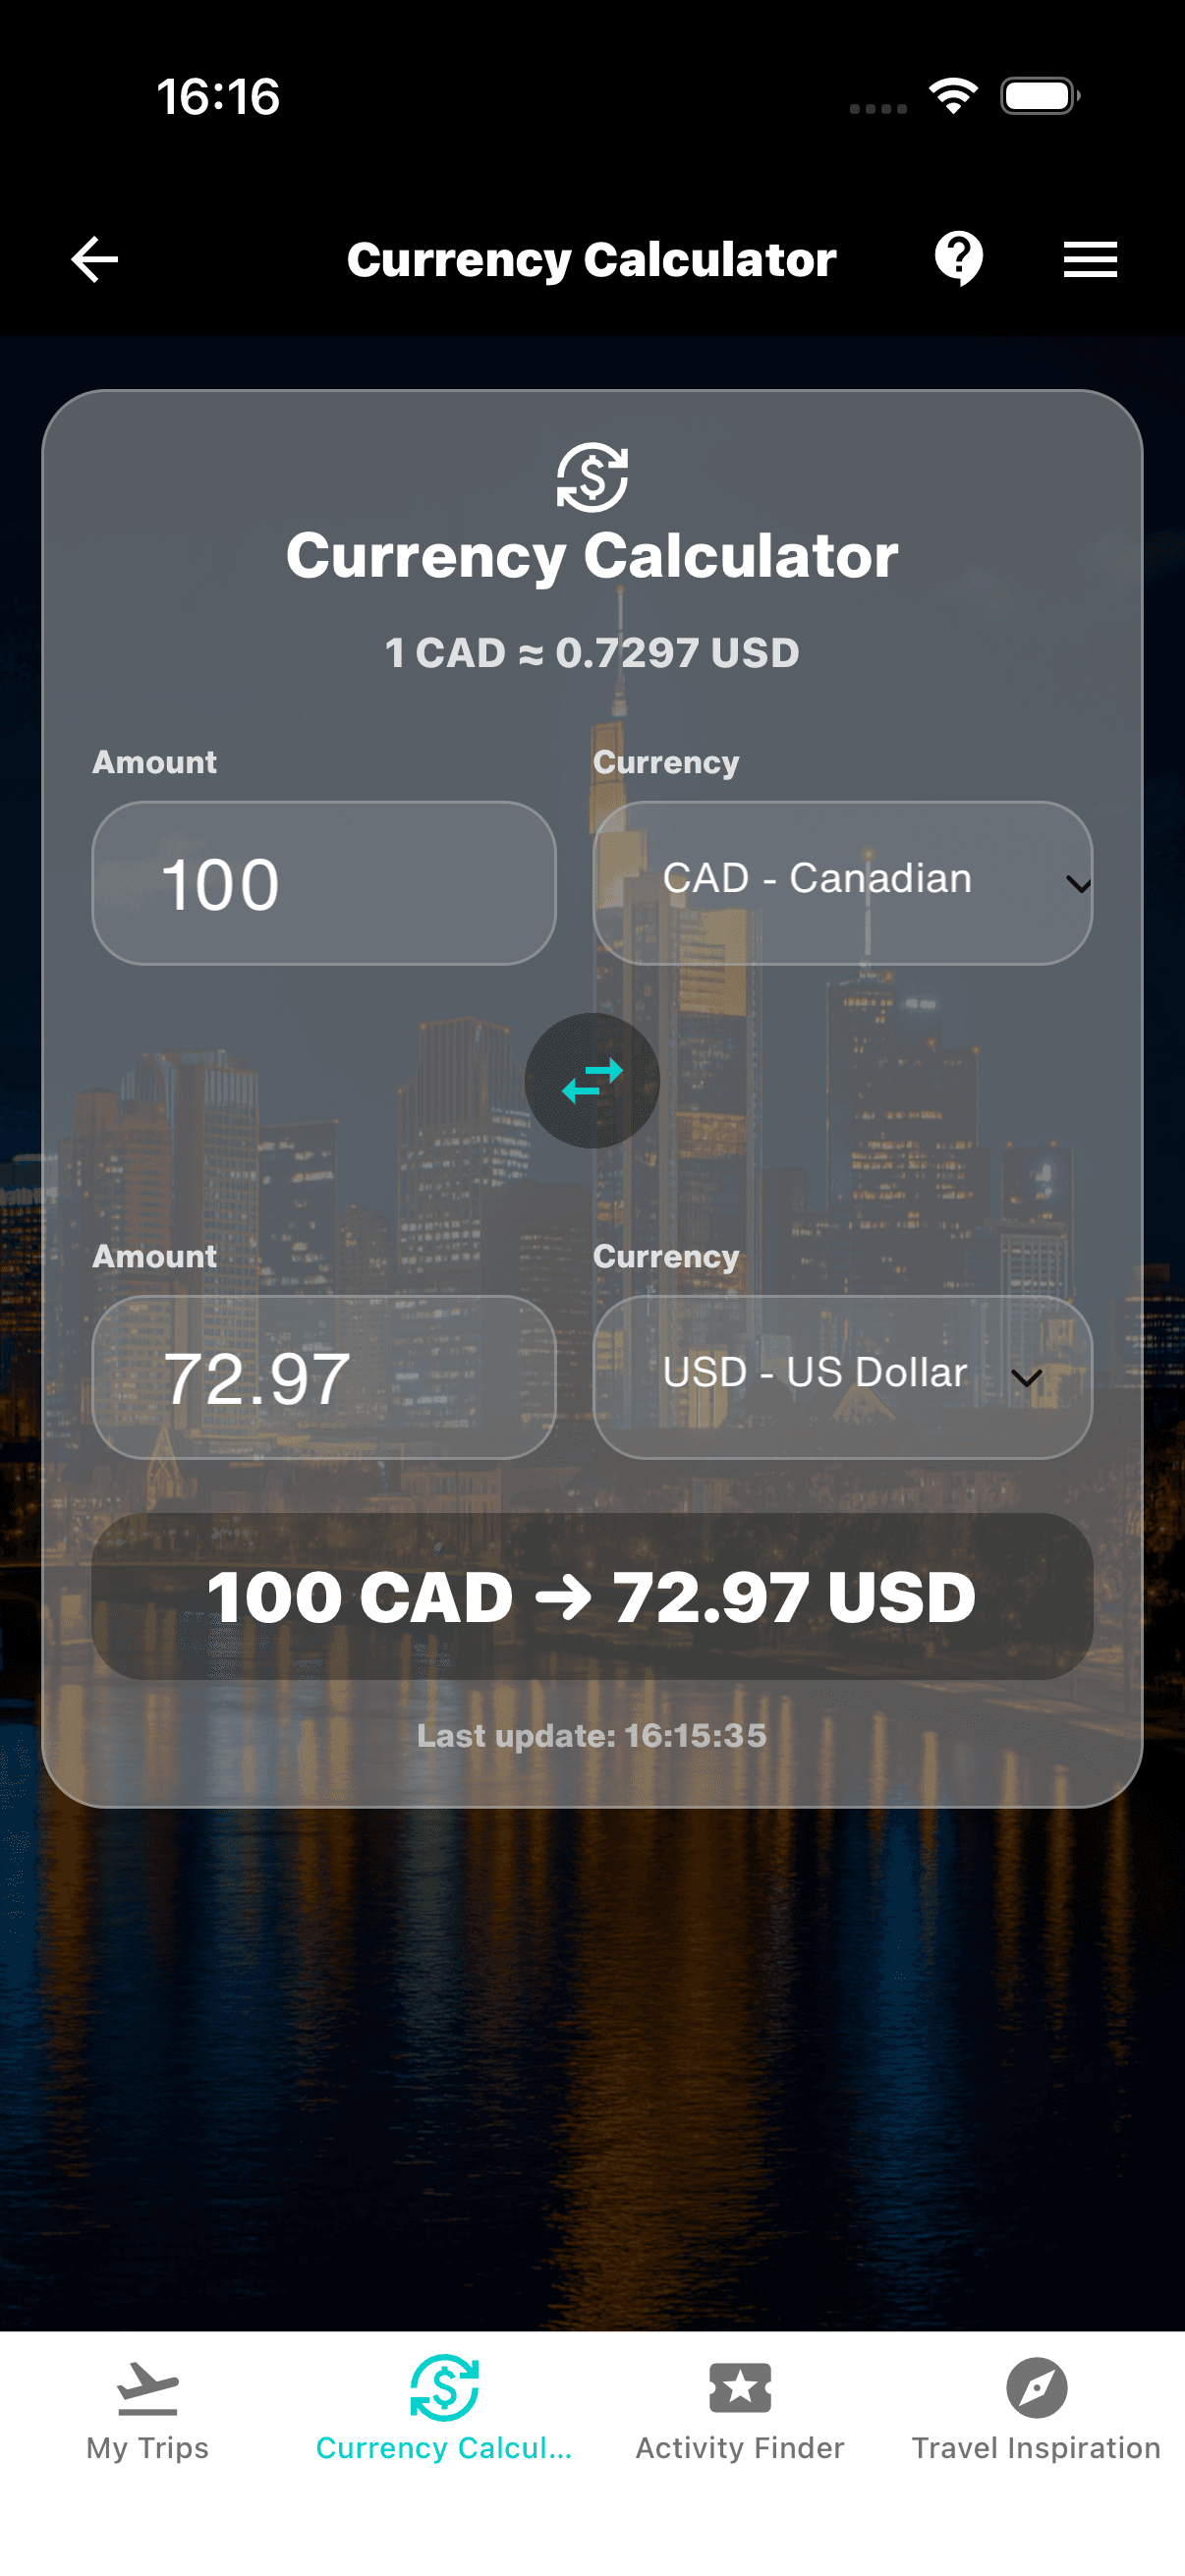
The separate Currency Calculator proved surprisingly useful on the road, too. When a price in Canadian dollars still did not feel intuitive, I could quickly convert it into our home currency without creating an expense first. Using the most recently loaded exchange rates, it even worked offline.
The Canada budget at a glance
Recording an expense in Canadian dollars
A quick conversion without recording an expense
The helpful part was not watching the total every hour. It was seeing the pattern.
A transfer day with fuel, groceries and accommodation could never be compared fairly with a slow day around one lake. Looking at categories and larger route sections was much more useful than trying to make every day cost the same.
During the trip: five quiet minutes at the end of the day
Once we arrived, the Trip Timeline became the center of the journey.
Each day already had its own DayCard. In the evening, usually while the family was winding down, I added only what would make that day recognizable later:
- a short day title
- one or two notes
- the important places we had actually visited
- the day's expenses
- up to five photos that told the story better than the other forty in the camera roll
I usually entered costs as they happened. If a day became too busy, I went through the receipts and card transactions that evening instead. I handled places in much the same way: most nights I added the actual stops, the day's notes and our selected photos in one pass.
That mattered in the Canadian Rockies, where mobile reception was weak or absent along parts of the route. The everyday work with the Timeline, notes, places, expenses, photos and Photobook preview remained largely available offline. I did not have to wait for the next hotel Wi-Fi; only features that needed fresh online data or a transfer required a connection.
This was not a full travel diary. Most evenings took around five minutes.
On a Lake Louise day, the DayCard might hold the shuttle time, the lake, one family note, lunch and parking expenses, and a small set of photos. On the Icefields Parkway, it helped us distinguish the stops we really made from all the viewpoints we had once saved. In Jasper, a short note captured details that would have disappeared by the time we returned home.
One travel day, completed in the DayCard
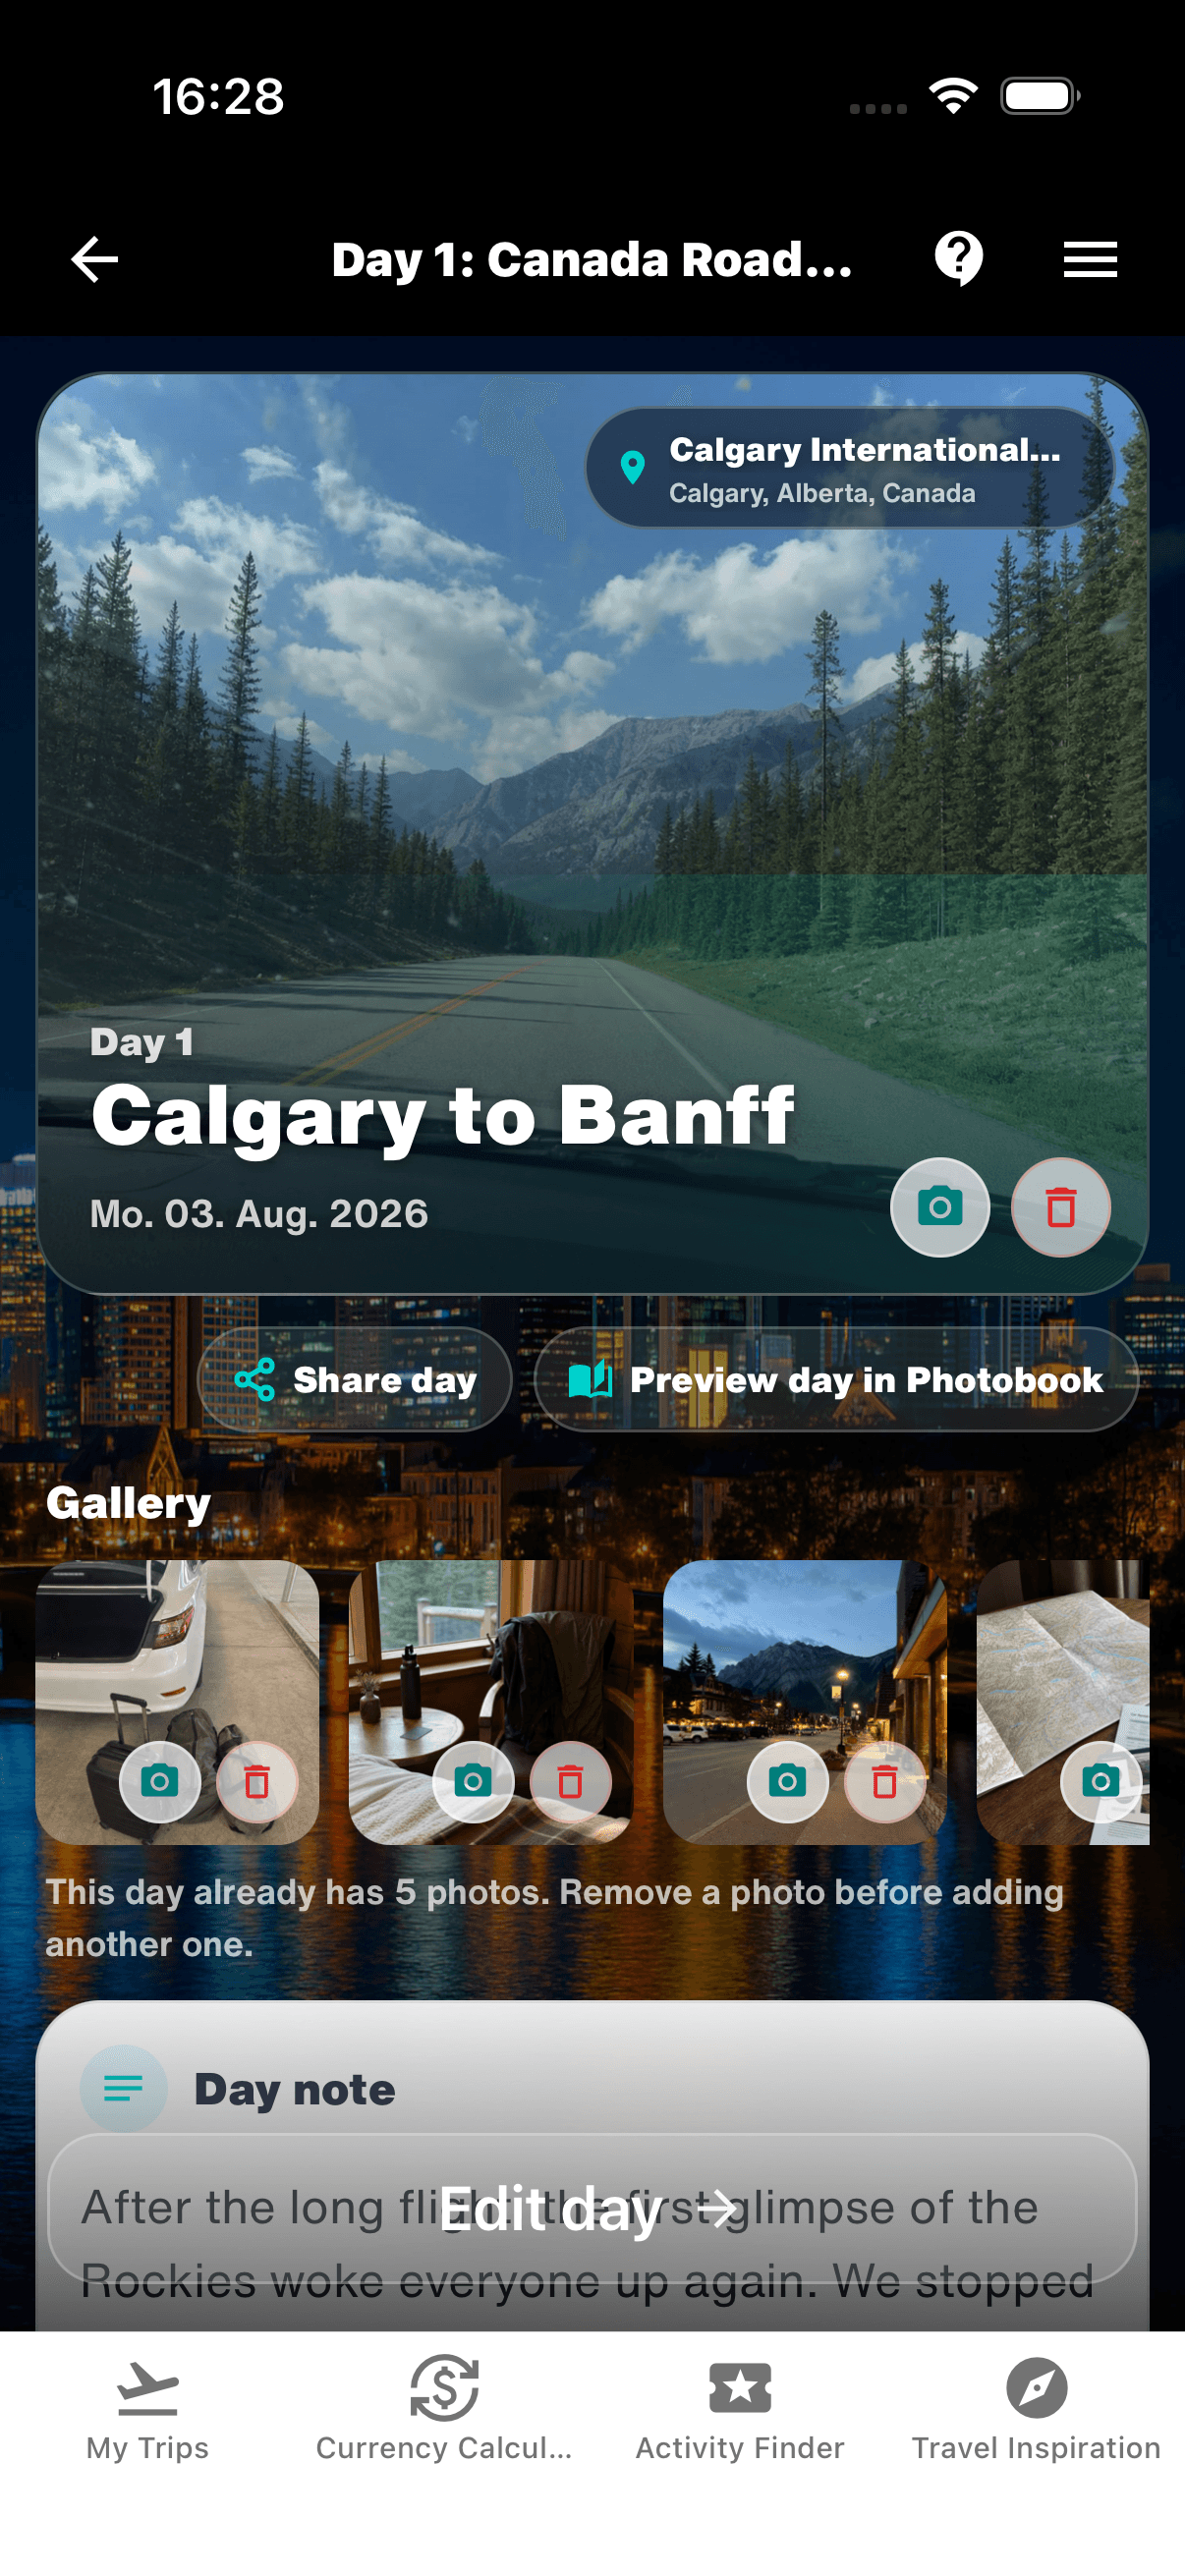
A DayCard did not need every photo or every stop. A few deliberate details were enough to keep the day distinct.
The routine also made the Trip Map more honest. Before departure, it showed our intentions. During the trip, it gradually became the route we had actually travelled.
That difference is small on a screen, but meaningful later. Family trips rarely follow the plan exactly. Weather changes, children need slower mornings and a roadside stop sometimes becomes more memorable than the attraction that was carefully scheduled.
The Photobook was already there — growing with us
This was the part I had underestimated.
I expected the Photobook to be something we would start after returning home: one more project waiting behind hundreds of unsorted photos. Instead, WanderSpend's live Photobook preview accompanied the trip from the first day.
As the timeline gained places, notes and selected photos, the book gained pages. The cover, route map and daily story began to take shape while the journey was still happening. I could open the preview, see which day already worked and notice where a title, photo or short note was still missing.
It changed the evening routine without making it feel like layout work. I was not designing a book page by page. I was simply completing the day, and the preview showed what that day could become.
Opening the finished page straight afterwards quickly became part of the routine. The children loved deciding which photos should make the book — although those decisions occasionally turned into a surprisingly heated family debate. That was part of the fun: the Photobook already felt like something we were making together, not a job waiting for one person after the holiday.
The Photobook page was visible the same evening
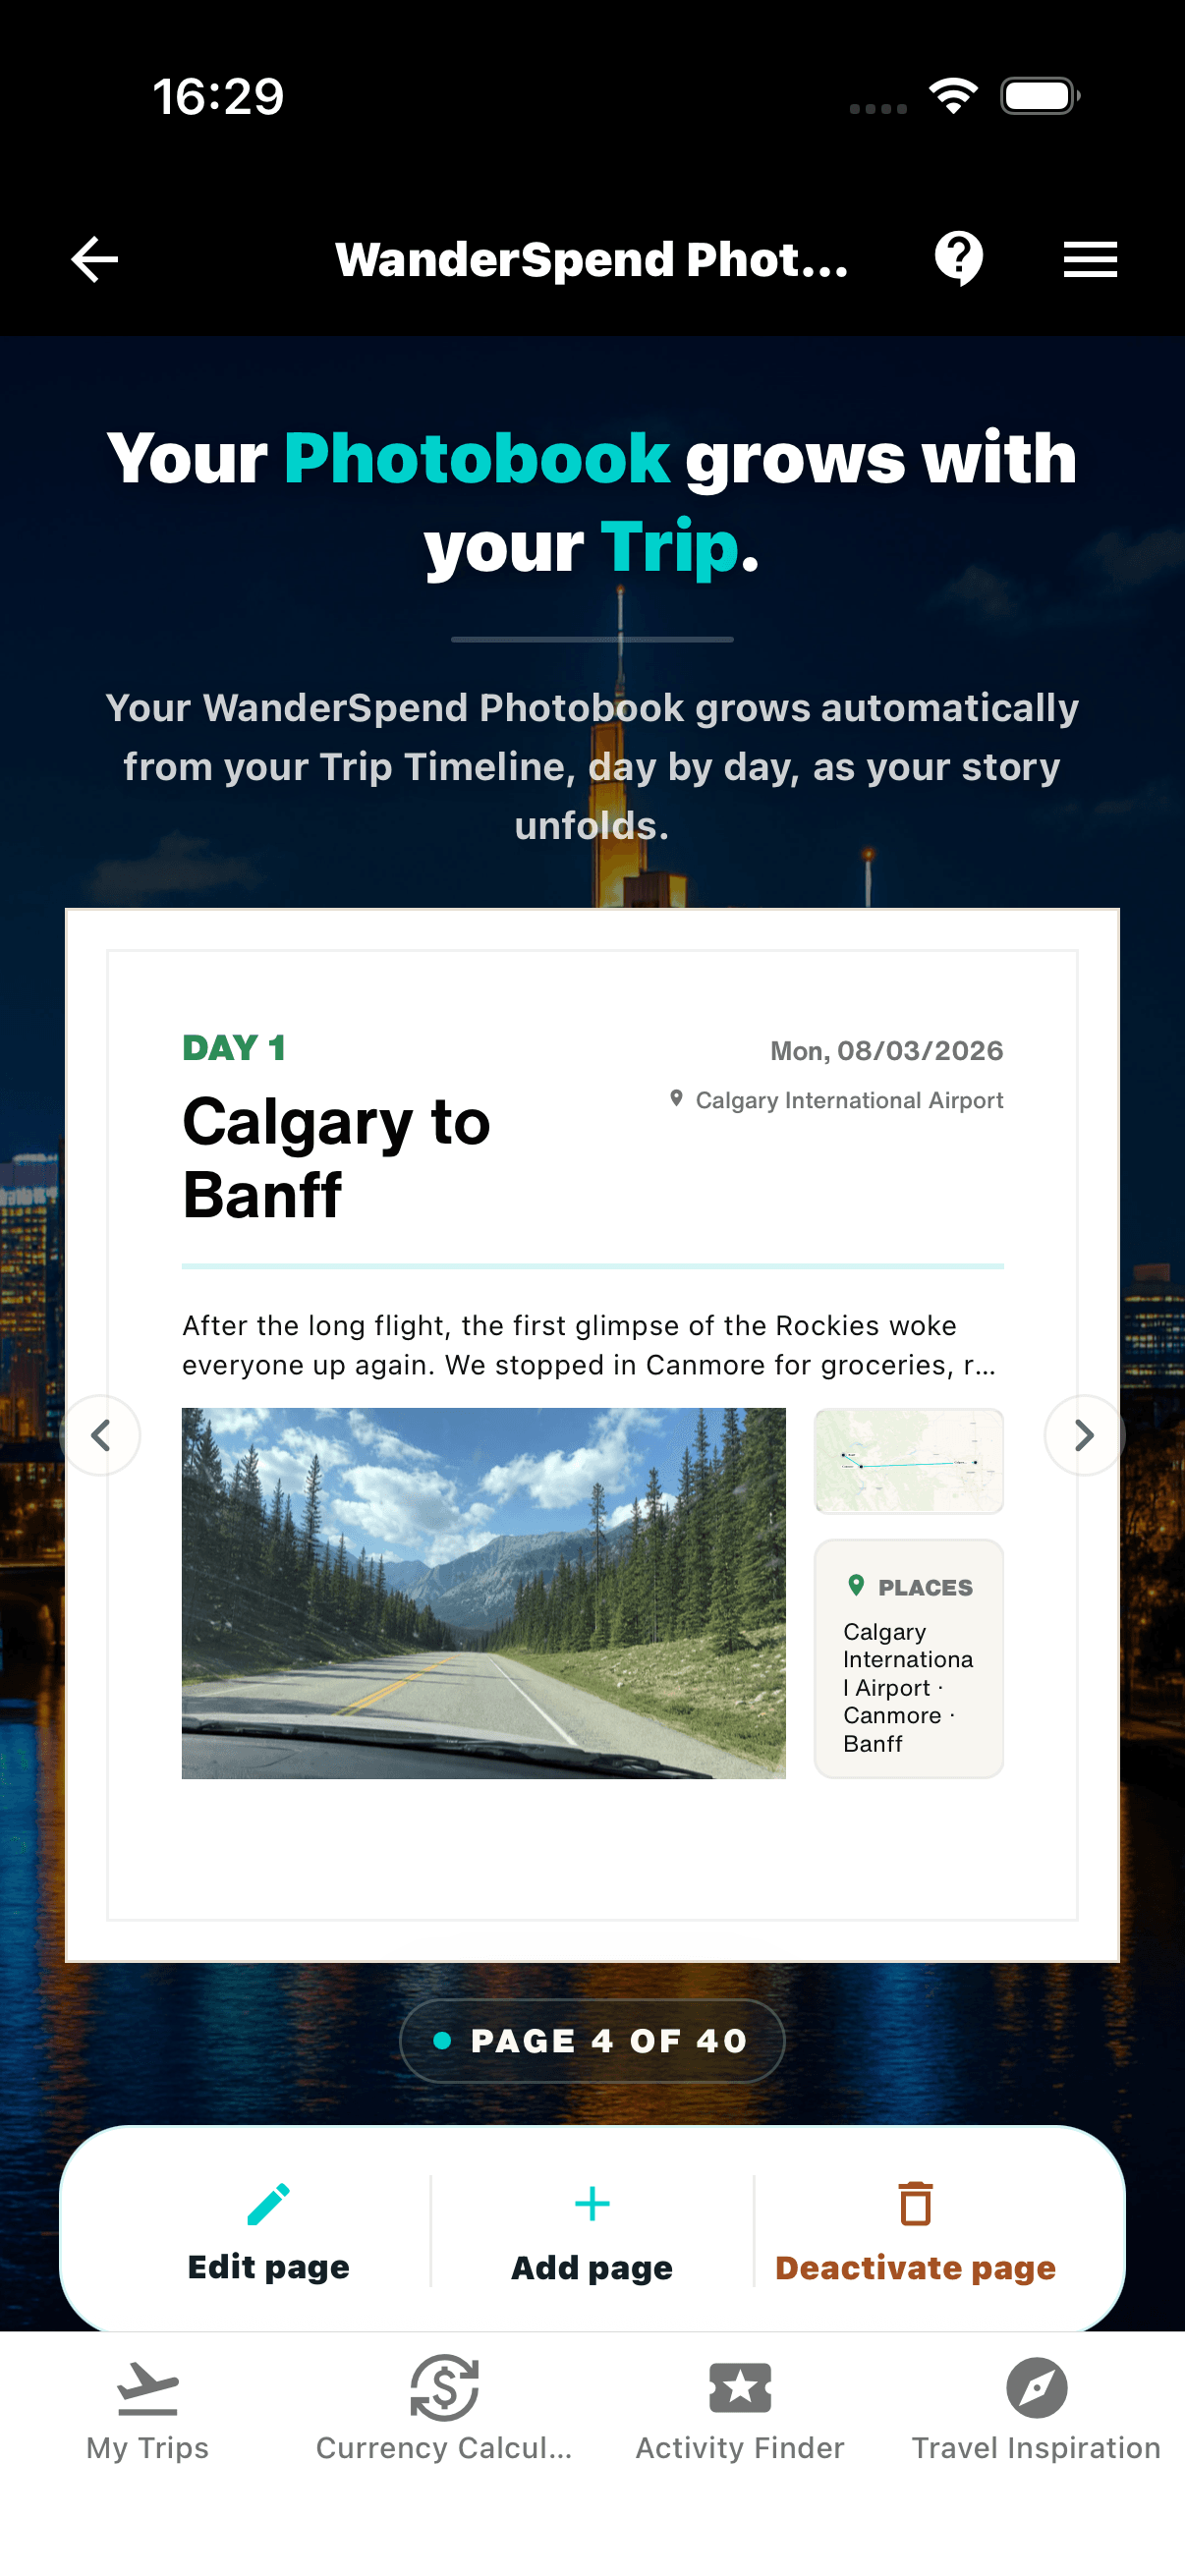
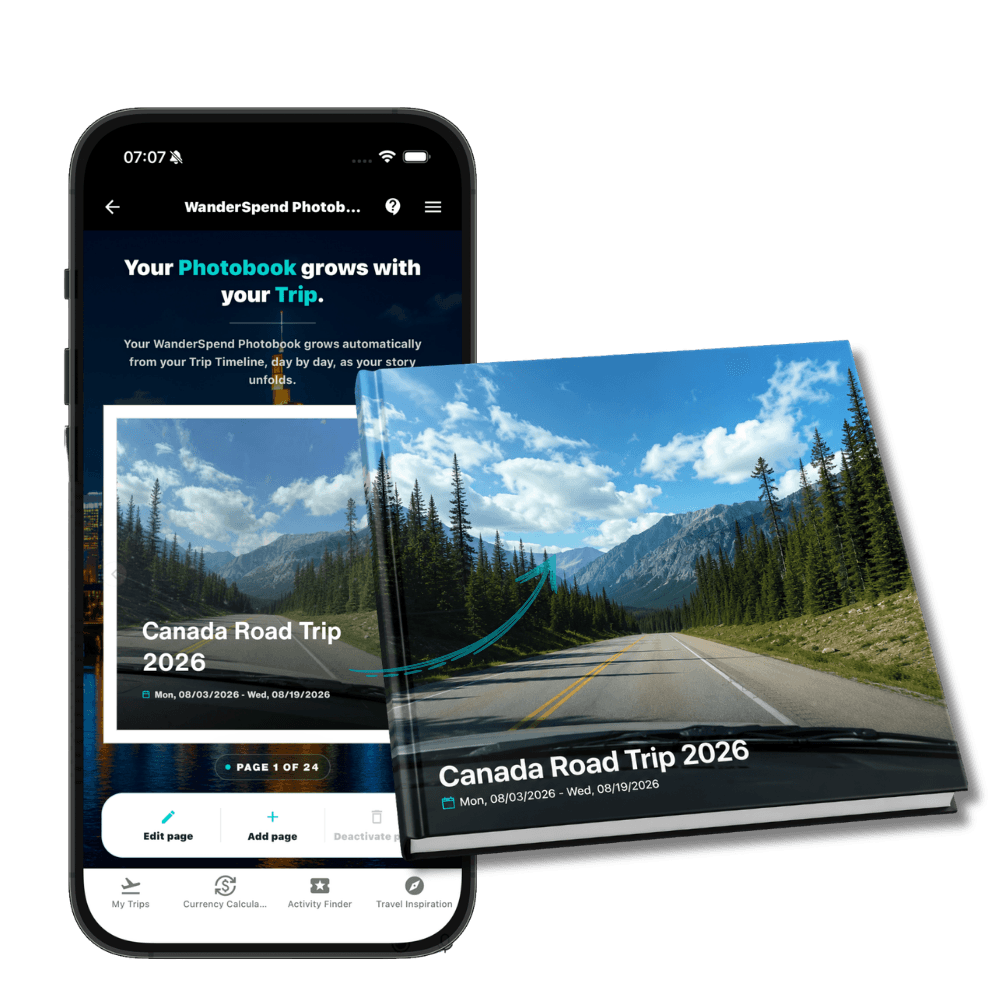
The living preview accompanies the journey day by day. It turns the timeline, route, places, notes and selected photos into a book that can be refined instead of started from an empty page after the trip.
You can explore the idea in the WanderSpend Photobook demo. The demo shows how the living preview develops during the journey and how it later becomes a square printed hardcover.
The live preview did something else, too: it helped us choose more deliberately. Five useful photos from a day are often better than fifty almost identical ones. A two-sentence note written that evening carries more of the day than a polished paragraph reconstructed three weeks later.
What we changed before creating the final book
After Vancouver, the trip no longer needed to be reconstructed. It needed editing.
We reviewed the timeline and made a few practical changes:
- We added missing day titles where two driving days looked too similar.
- We replaced repeated lake photos with images that showed people, weather or a small detail.
- We removed pages that did not add anything to the story.
- We checked the route map and the places connected to each day.
- We decided which optional statistics or budget pages belonged in our family book.
Only after the trip did we create the protected print preview. Until that explicit step, the trip and editable Photobook stayed local in WanderSpend. Creating the print preview securely uploads the selected Photobook photos and page settings needed to render the printable version.
That sequence felt right: private daily organization first, deliberate print preparation later.
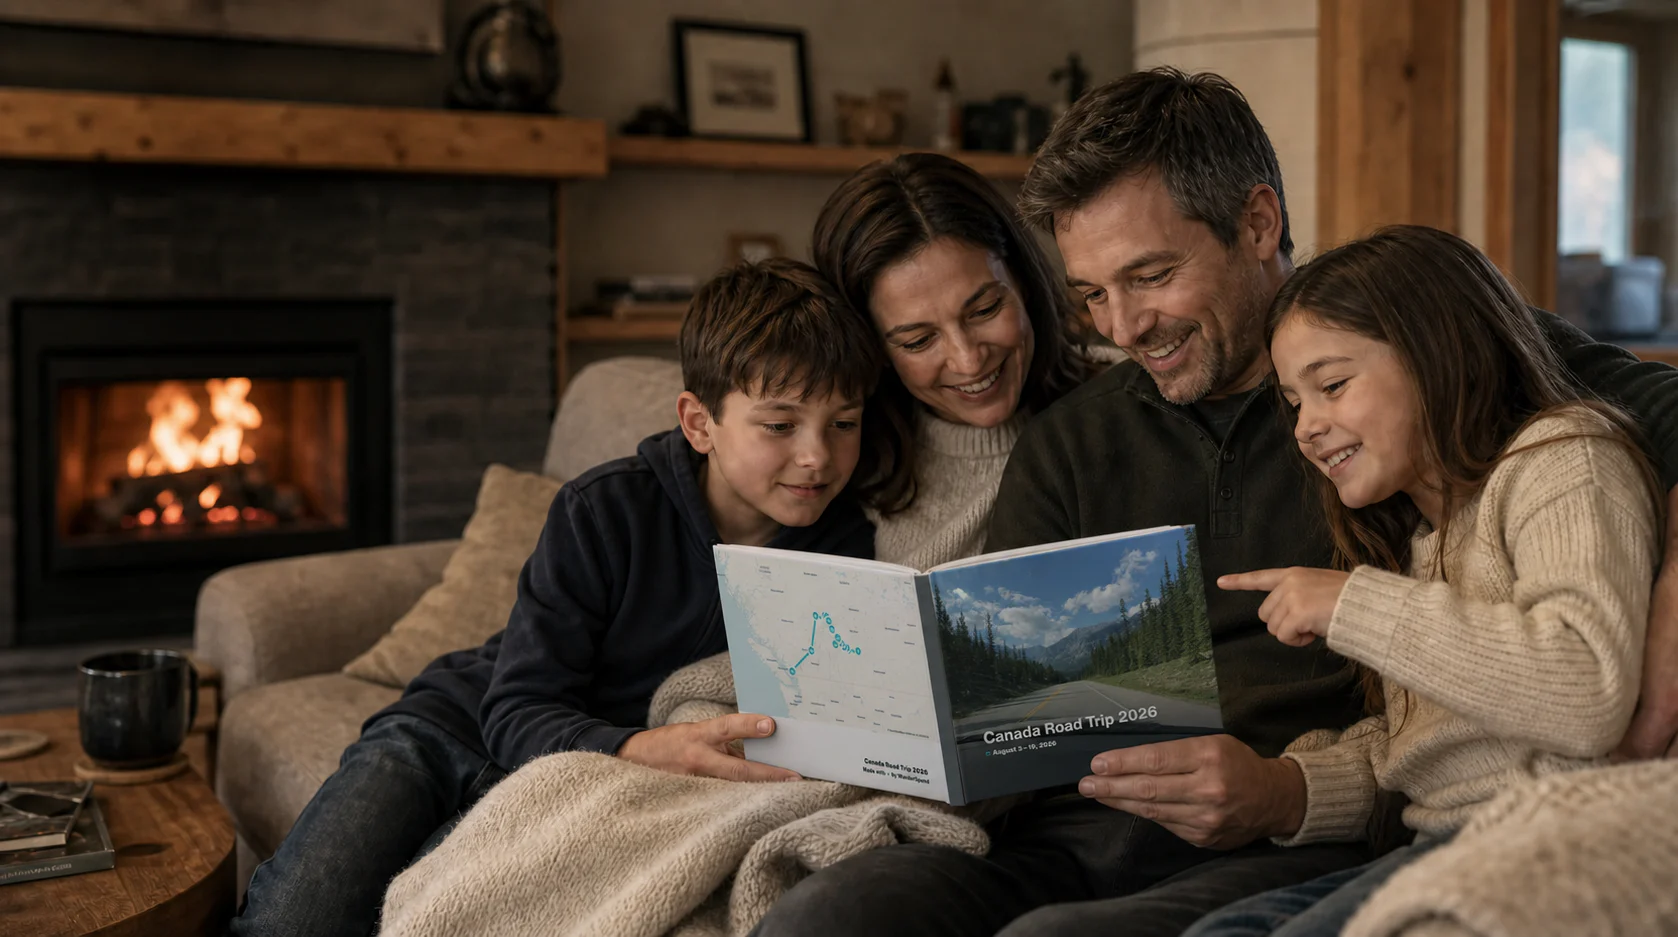
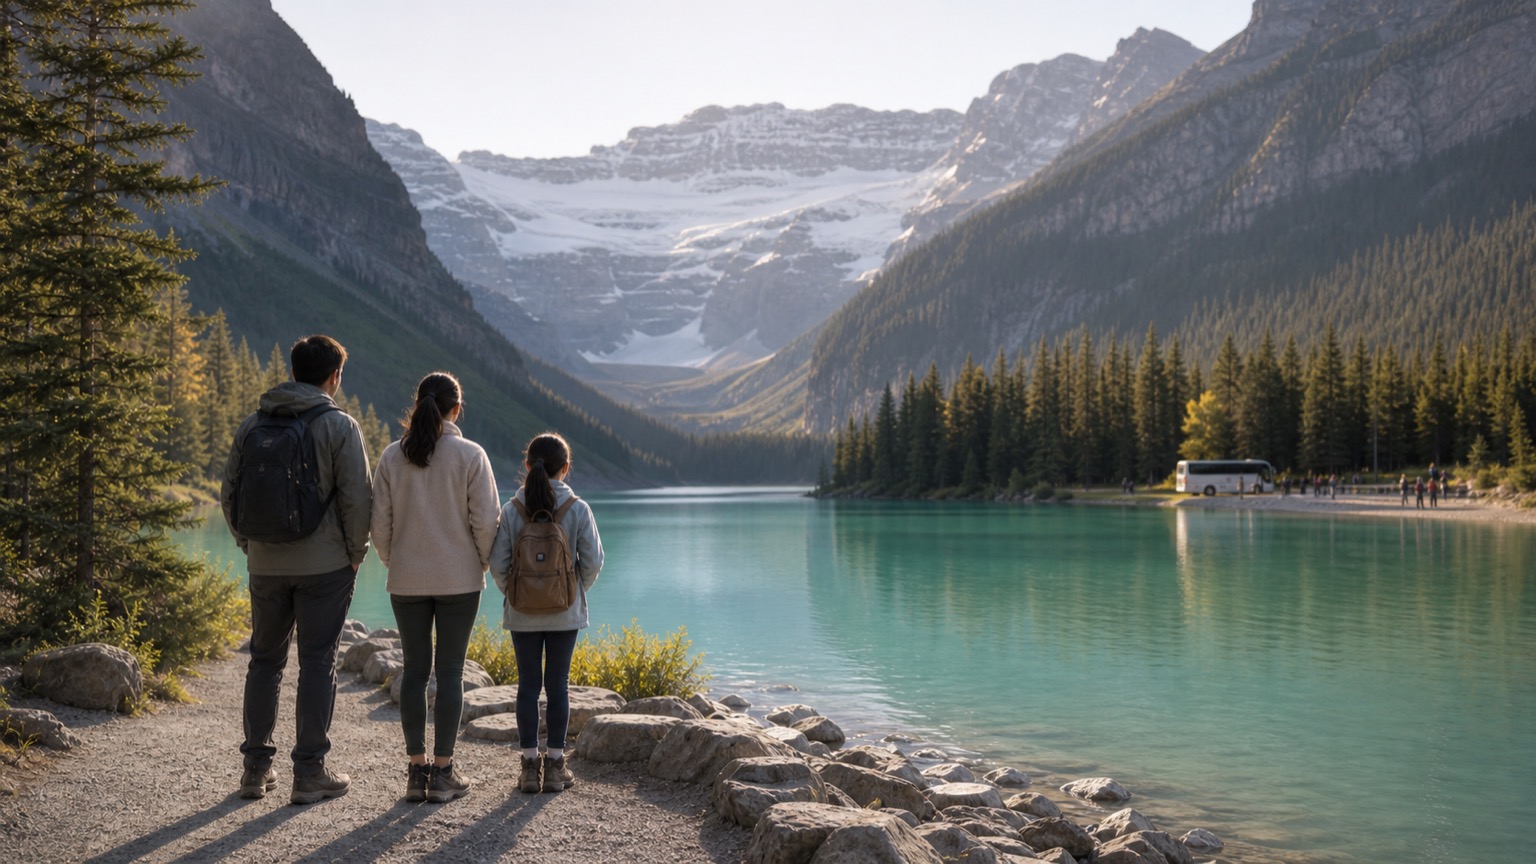
An illustrative view of the final step: the printed book brings the route, daily pages and selected photos back together as a shared family experience.
What WanderSpend genuinely improved for us
WanderSpend did not choose our route, book a shuttle or make a rainy day disappear. It improved the trip in quieter ways.
We stopped searching for the same information
The relevant booking, note or document was attached to the trip or the day where we needed it. We still kept backups, but we did not have to start every search in an email inbox.
The budget stayed useful without becoming the subject of the holiday
We recorded meaningful expenses and checked categories occasionally. That gave us awareness without turning a family road trip into a daily scorecard.
The timeline preserved the small details
The famous lakes were never going to be forgotten. The sentence one of us said on the drive to Jasper probably would have been. Short notes kept some of that texture.
The Photobook removed the blank-page problem
The biggest difference came after the trip. We did not face an empty editor and an unfiltered camera roll. We came home to a book that already knew the sequence of our journey.
The honest trade-off: the trip only grows if you add to it
None of this is completely automatic.
WanderSpend reduces the work, but it cannot know which photo matters to your family or which sentence will make you laugh a year later. The useful habit was small and consistent: complete the DayCard while the day was still fresh.
There is also an important privacy trade-off. Core trip information is kept locally rather than synchronized as a shared cloud archive. That is reassuring, but it also means essential documents need a separate backup and a lost phone should never be the only place where important travel information exists.
For our Canada route, that balance worked. We wanted a private travel space, not a public feed or automatic travel tracking service.
From an expense entry to something we could hold
The first entry in WanderSpend was practical: a rental car expense.
The final result was personal: a family book with a route, real travel days, selected photos and the small notes that made the trip ours.
That is why the Photobook mattered before it was printed. The live preview did not merely document Canada afterwards. It accompanied us through Canada and gently encouraged us to finish each day while it was still vivid.
If you want the functional version of this workflow, read the WanderSpend guide on using the app before, during and after a trip. If you want to see where the timeline can lead, open the Canada Photobook demo.